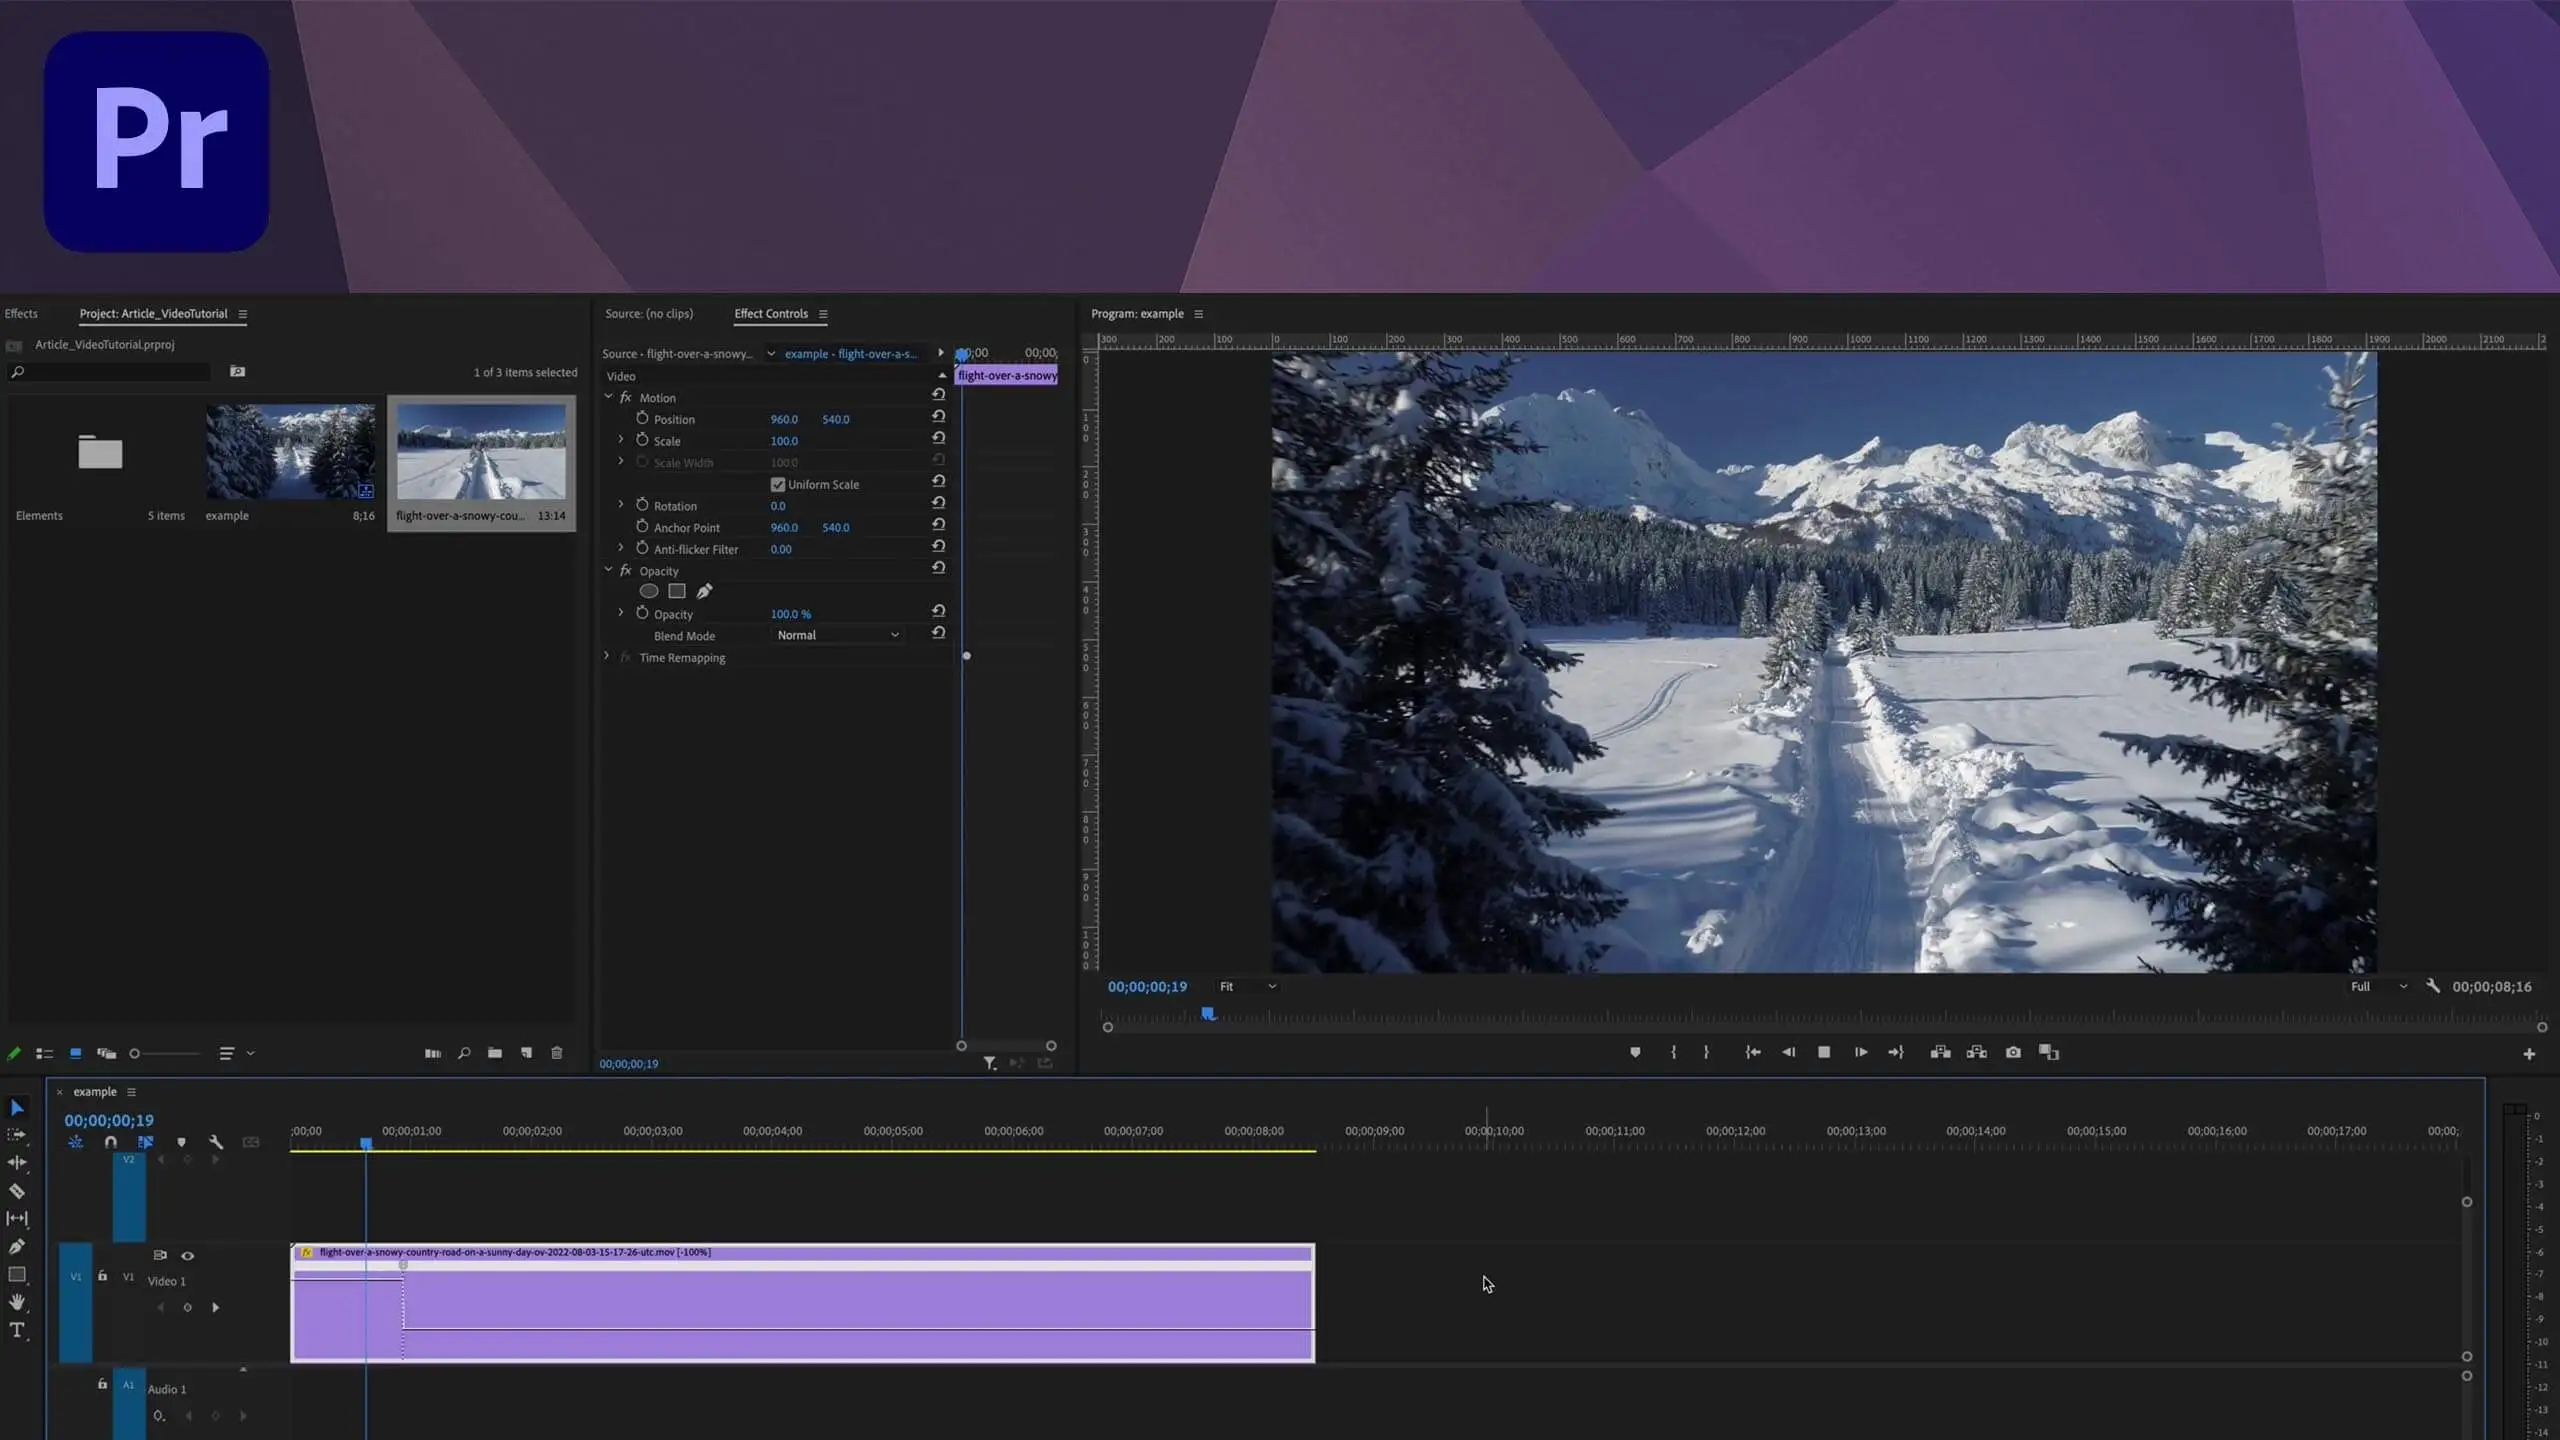
If you want to change the speed at specific spots in a clip, Adobe Premiere Pro’s Time Remapping feature provides the answer.
Right-click your clip and choose “Show Clip Keyframes,” “Time Remapping,” then “Speed,” until the rubber band becomes visible on it. Use the pen tool to set keyframes where speed changes should happen before using the Selection tool to pull either up (increase speed) or down (decrease speed) the rubber band in any section of your clip to effect change.
Keyframes allow you to change the speed in various segments of your clip. For an easier transition between speed changes, drag the top keyframe upward to create a ramp; this helps soften abrupt changes.
